Now at MINING MART – An Australian First: MINING MART proudly introduces the Z+F IMAGER® 5006EX to Australia — the nation’s first explosion-proof 3D laser scanner with ATEX approval.
Now at MINING MART – An Australian First: MINING MART proudly introduces the Z+F IMAGER® 5006EX to Australia — the nation’s first explosion-proof 3D laser scanner with ATEX approval.
At MINING MART, we specialize in planning, developing, and supplying high-quality facilities that are specifically adapted to the needs of the mining sector.
HomeProject 8Paddington CV07 Walkway Design and Detailing
Paddington CV07 Walkway Design and Detailing
Overview
We got a call from the client to help whip up some detailed drawings for the Paddington CV07 walkway, based on the design they had. It was a chance to flex our engineering muscles and deliver something top-notch.
The Process
We kicked off the project with all the necessary input drawings, including project standards and general arrangement (GA) details. Here’s how it all unfolded:
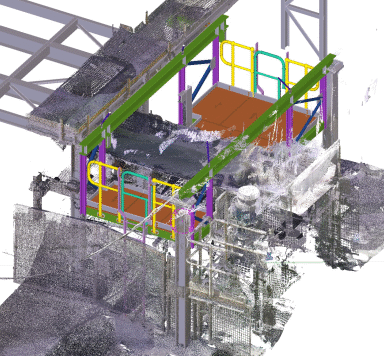
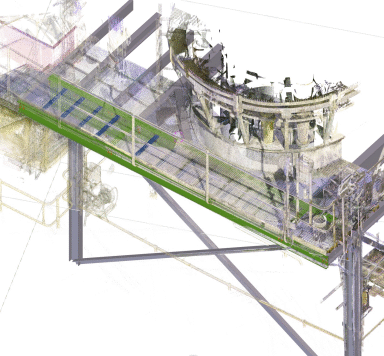
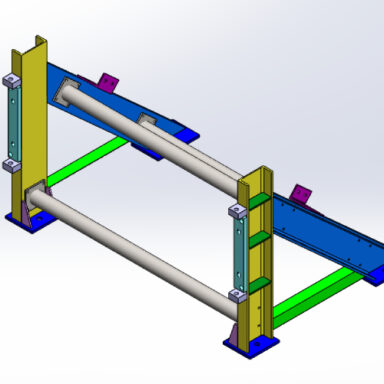
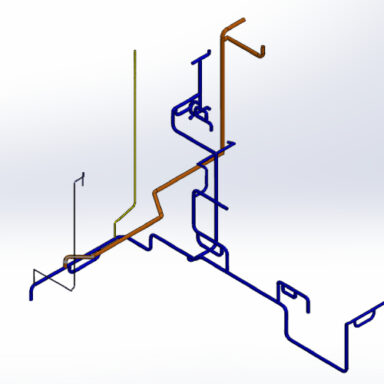
3D Modelling: Using the point cloud data and the input drawings, we first created a 3D model of the walkway. This step set the foundation for everything that followed.
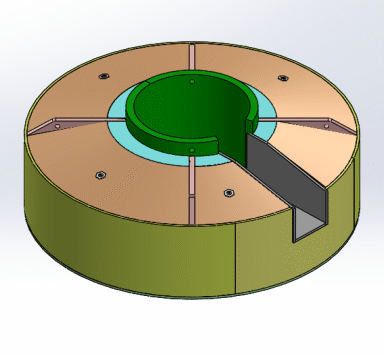
Connections Development: Next, we developed the 3D model further by incorporating all the required connections, ensuring everything complied with the project standards.
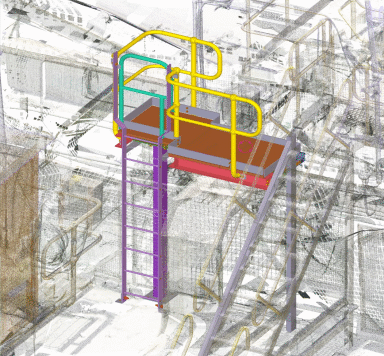
Modeling Additional Features: After getting the base model sorted, we added the handrails, grating, and ladder to complete the design.
Client Submission: Once the complete model was ready, we submitted it to the client for approval, eager to get their feedback.
Changes and Rework
At this stage, the client had some new inputs, requesting a few changes. They wanted us to switch from welded to bolted connections, which is a pretty big change in the design. They also asked for the grating to extend all the way to the conveyor by removing the kick plates.
Not ones to shy away from a challenge, we took all these requirements on board and made the necessary adjustments to the model.
Final Touches
After reworking everything, we updated the fabrication drawings accordingly. We managed to get all these changes done and submitted everything ahead of the due date, much to the client’s satisfaction.
In the end, we not only met their requirements but also made sure the project stayed on track, proving that we can handle whatever comes our way!
You may also want to have a look
at similar projects.